HOW TO MANUALLY MARK GATED INVENTORY AS EXITED
Learn how to effectively manage your facility's gated inventory by manually updating vehicle statuses. This guide provides a clear walkthrough for signing in to Flash Enforcement and processing an exit event for specific entries.
Sign in
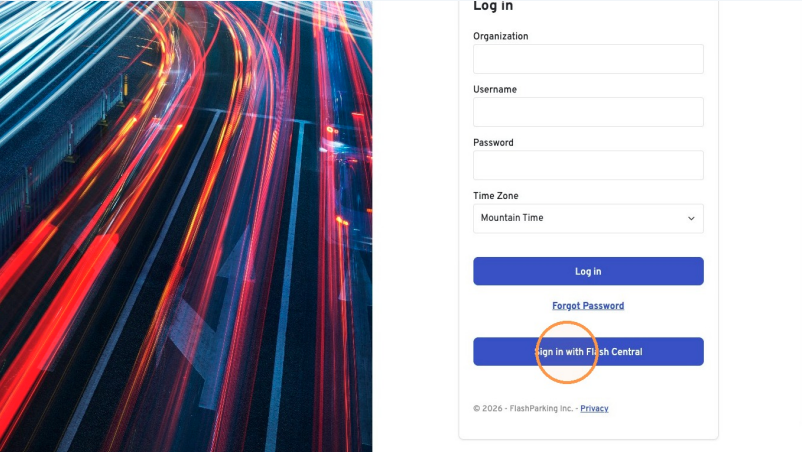
1. Click "Sign in with Flash Central".
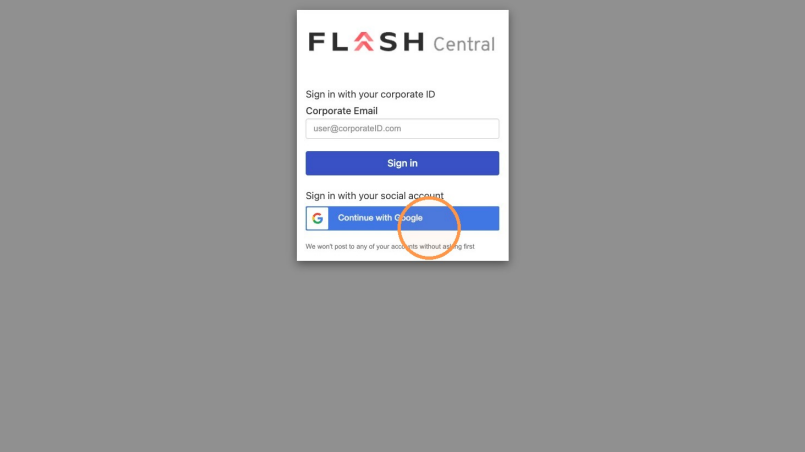
2. Click "Continue with Google"
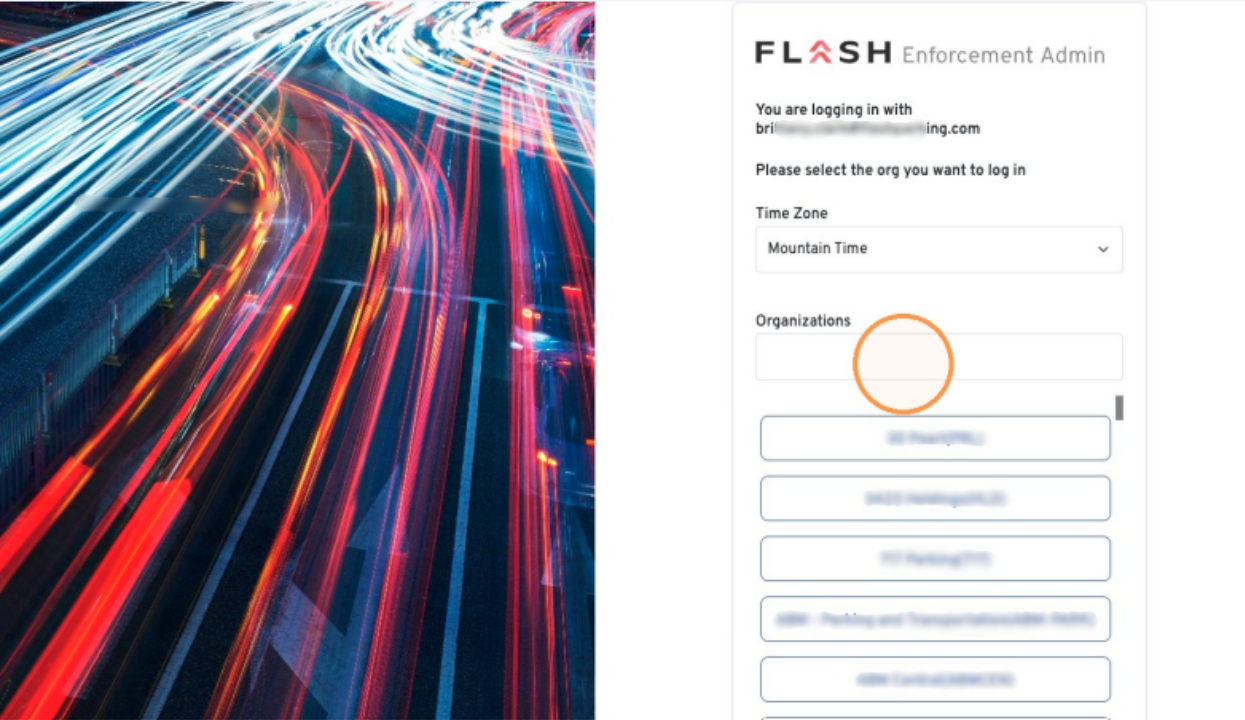
3. Focus the Organizations field and type the location or garage name.
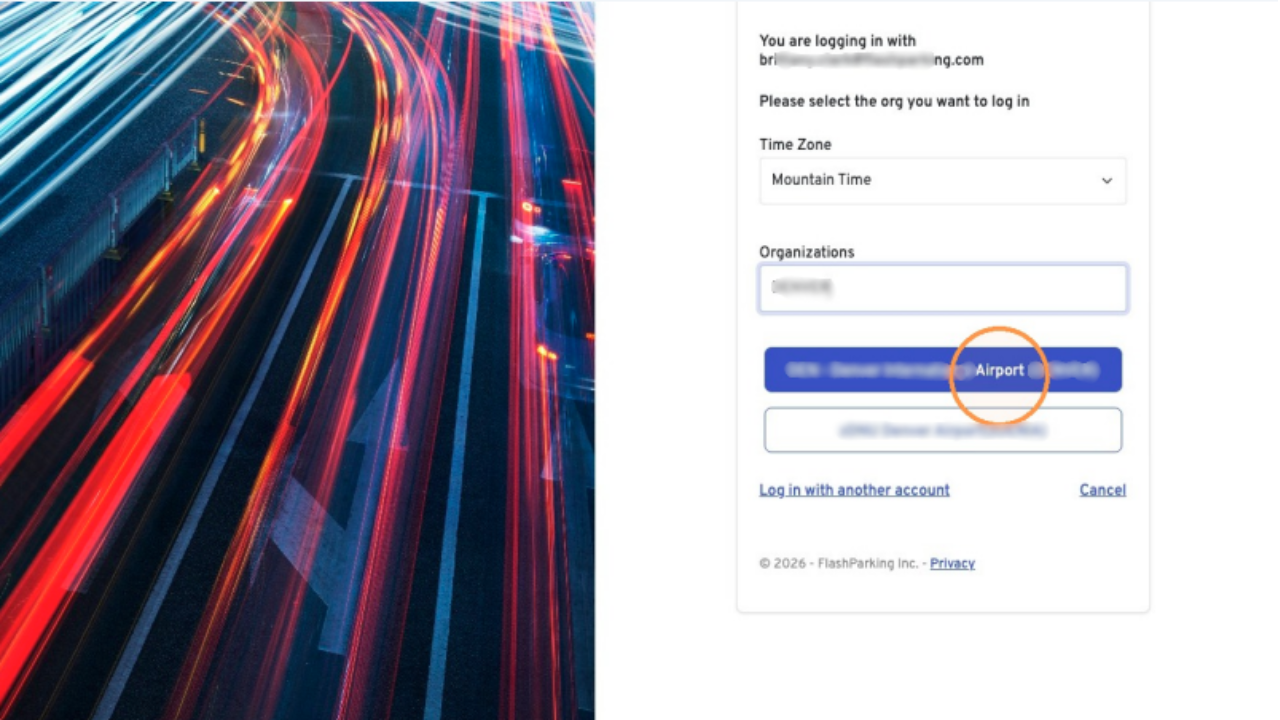
4. Select the Location
Open Gated Inventory
5. Click "analytics Activity expand_more"
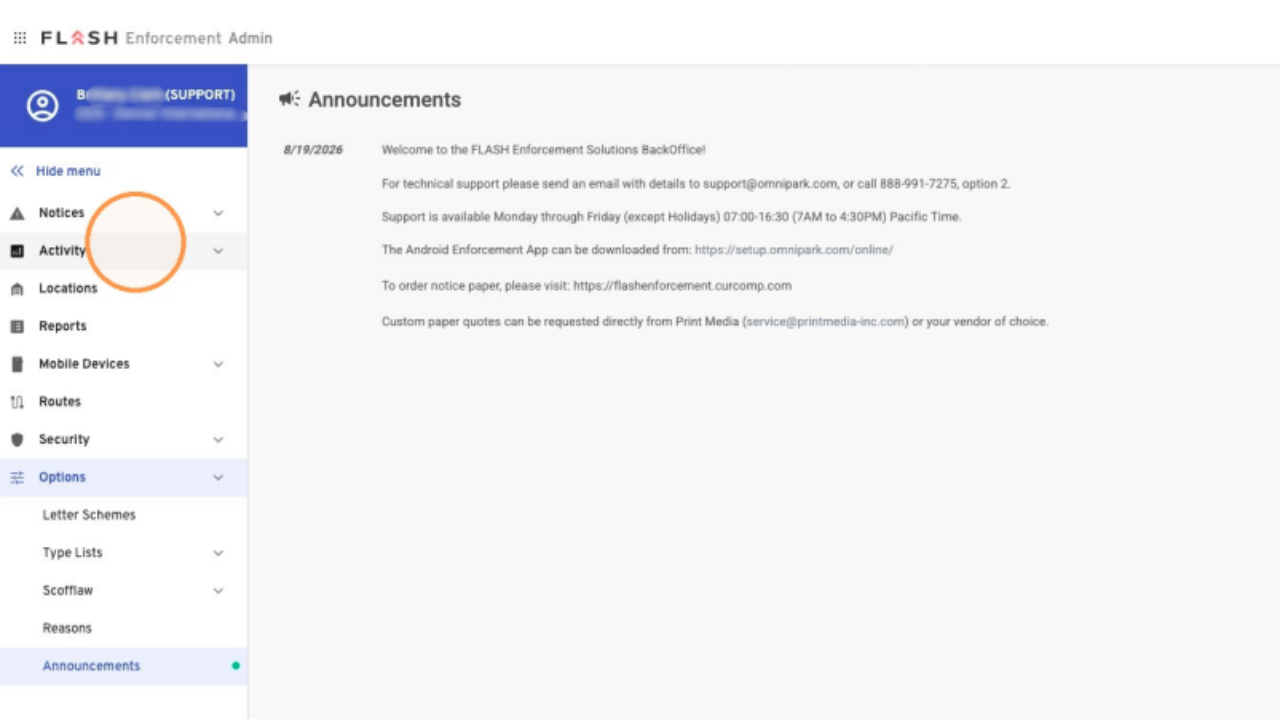
6. Click "Inventory"
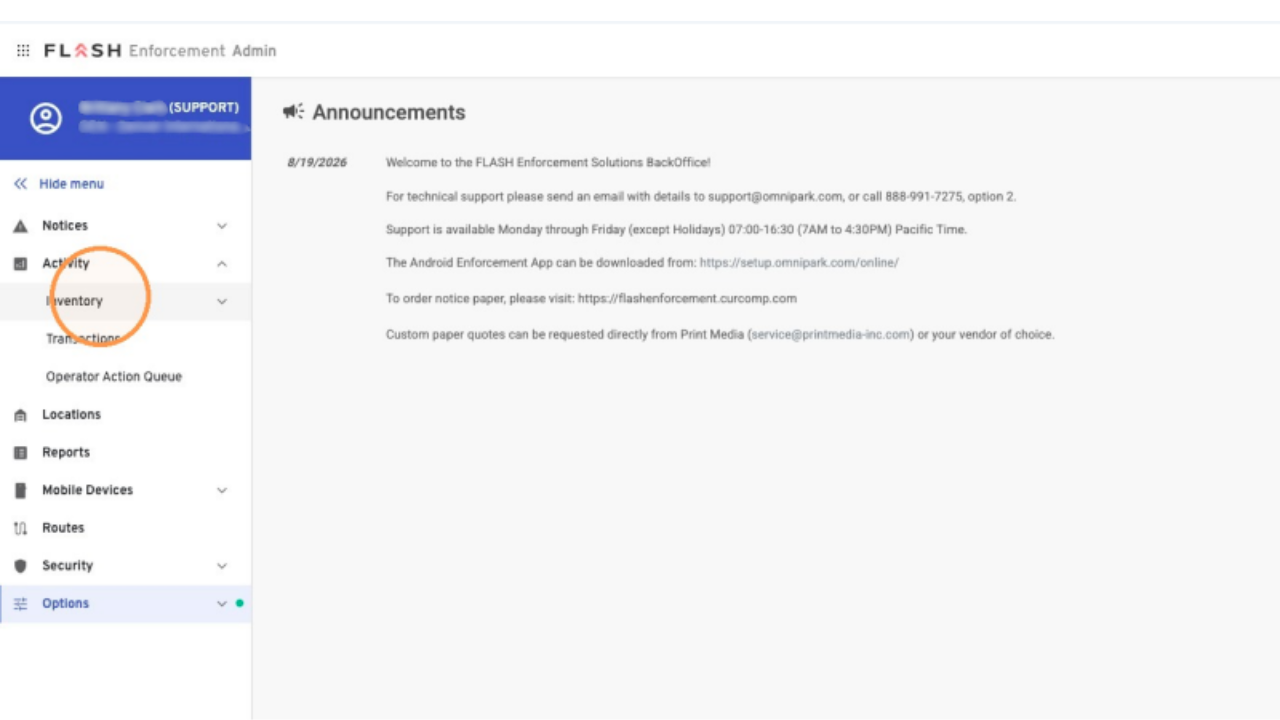
7. Click "Gated Inventory"
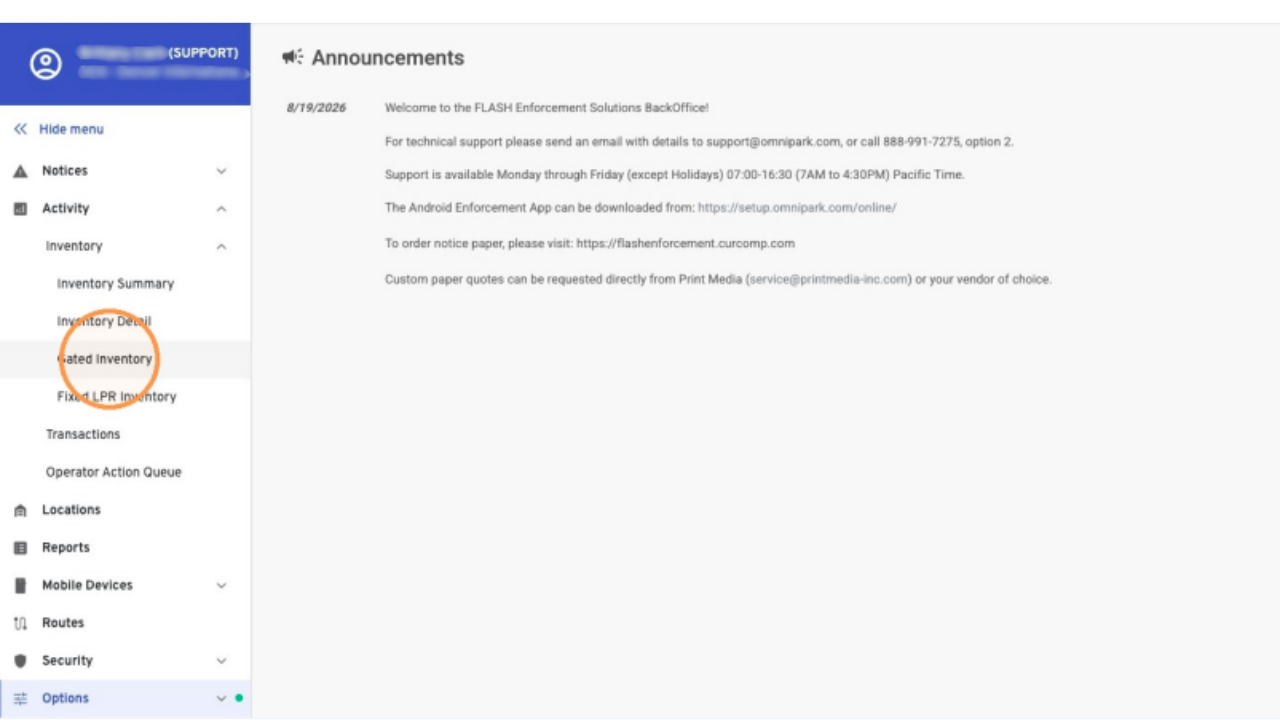
Search Inventory
8. Click "Search..."
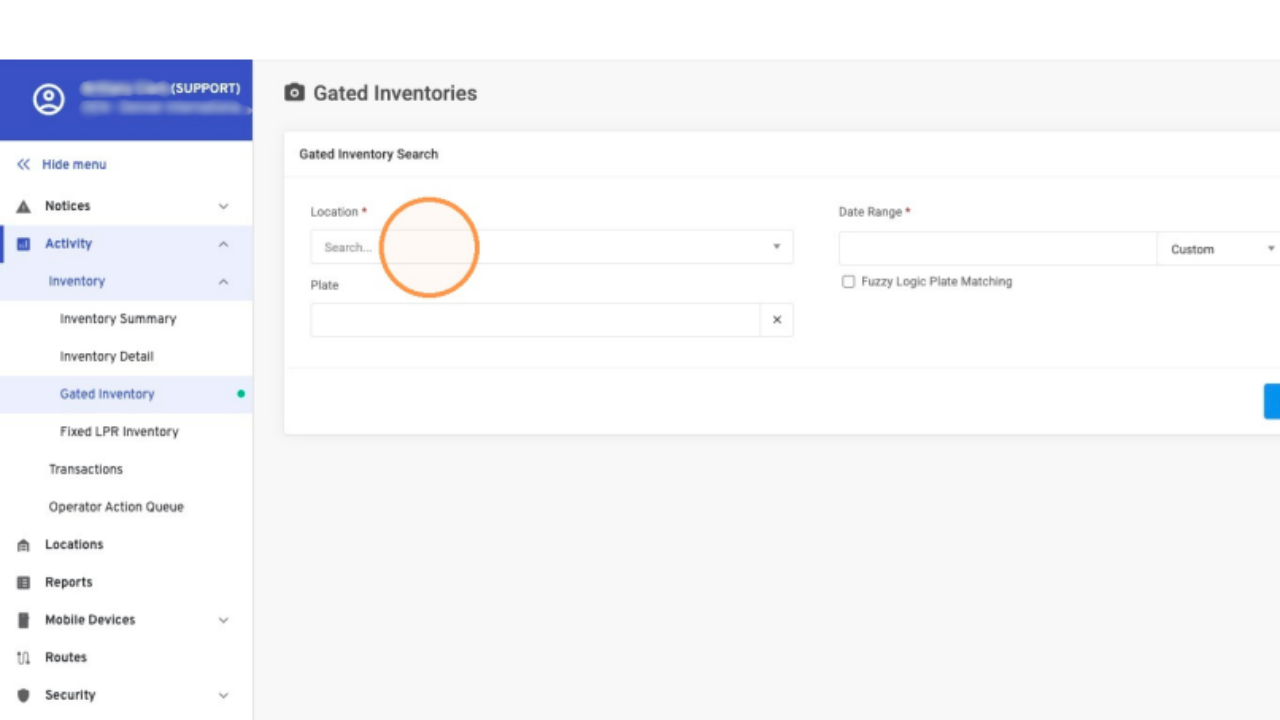
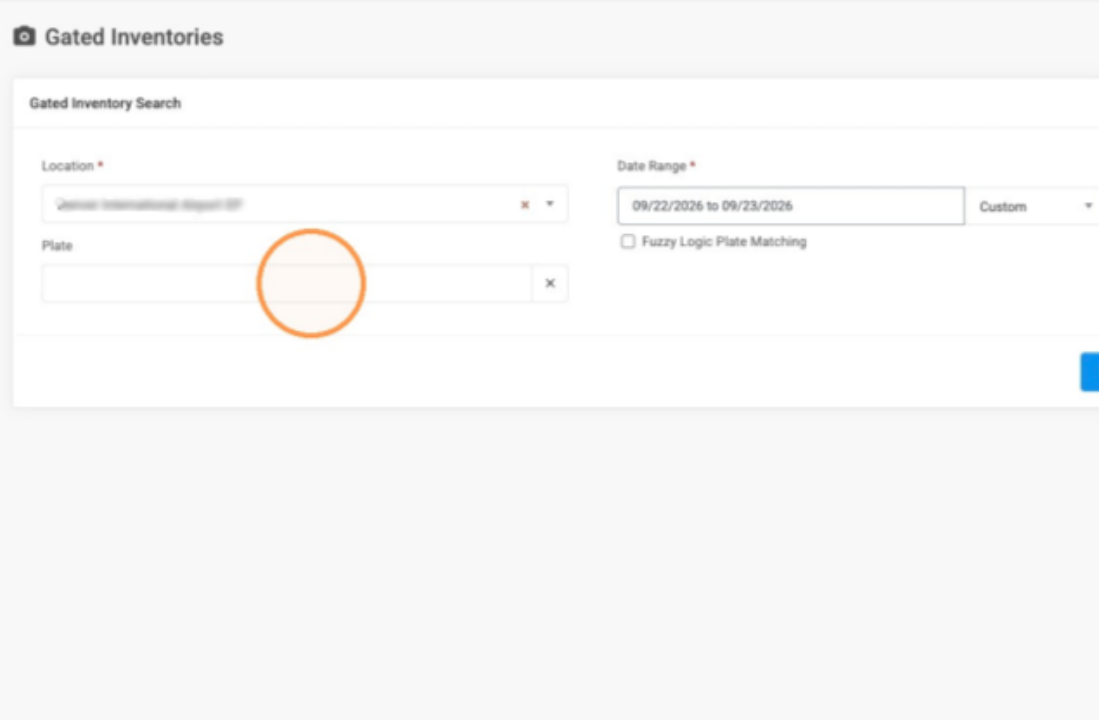
9. Select the Location
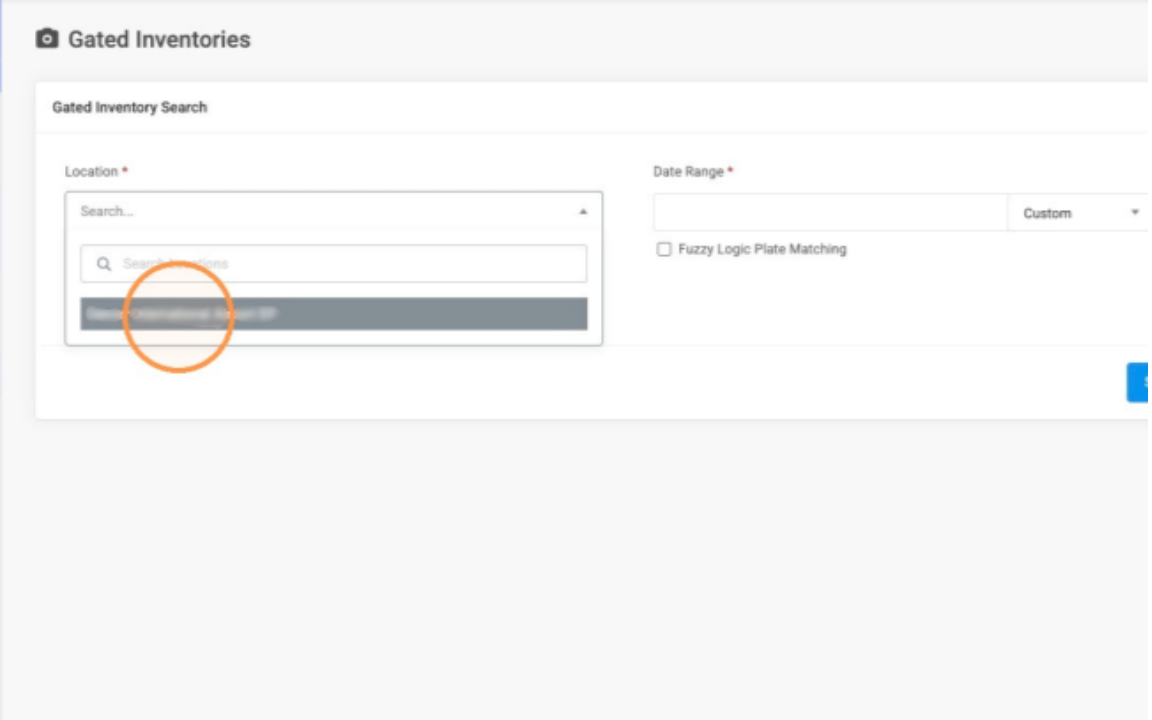
10. Select the appropriate Entry Date Range
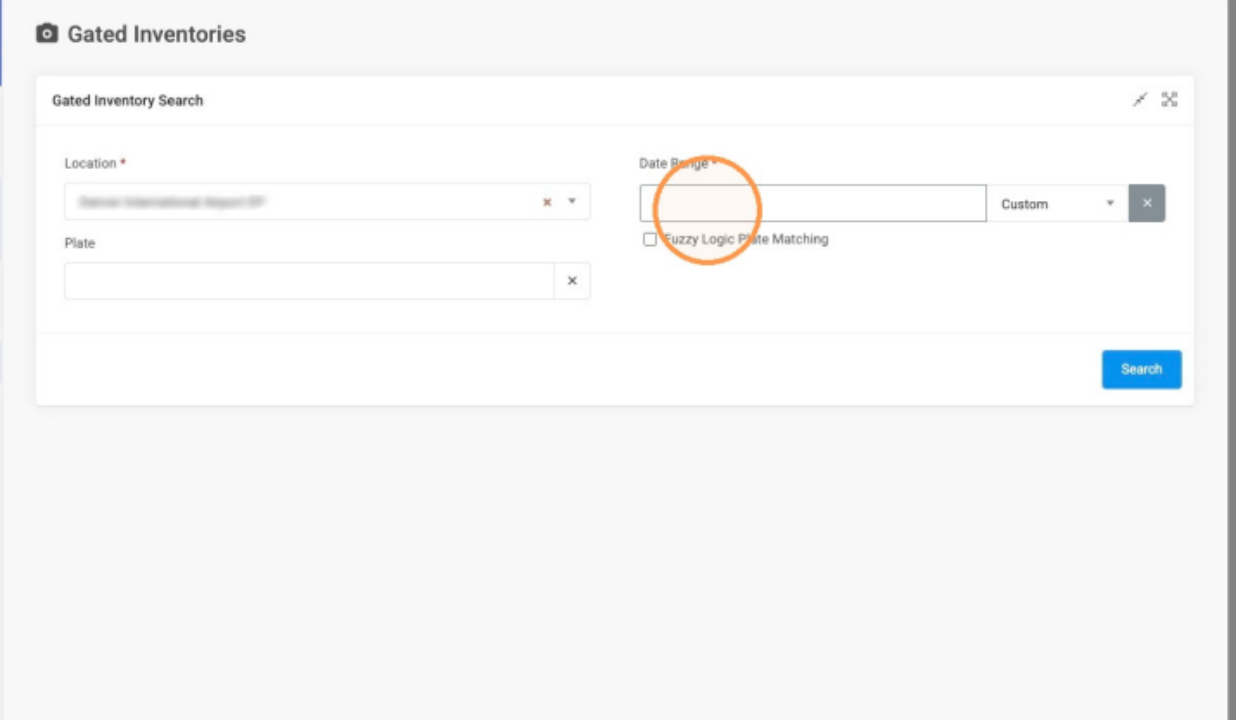
11. It's best to isolate the specific entry date for the full range so it limits the search. Example: Start Date is September 22nd
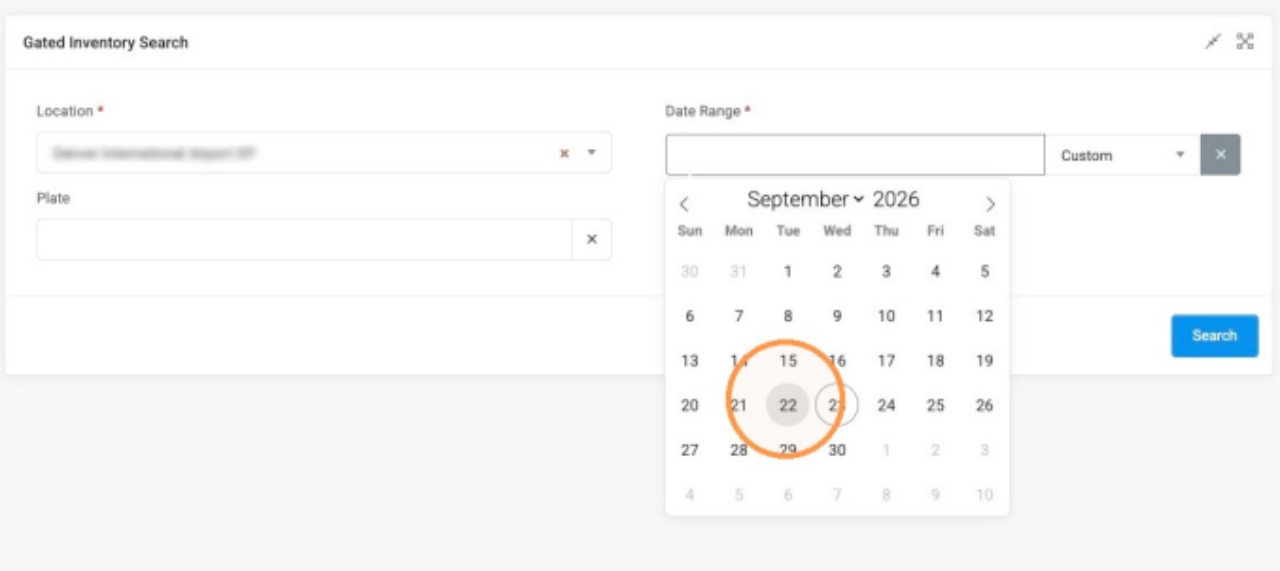
12. Through September 23rd.
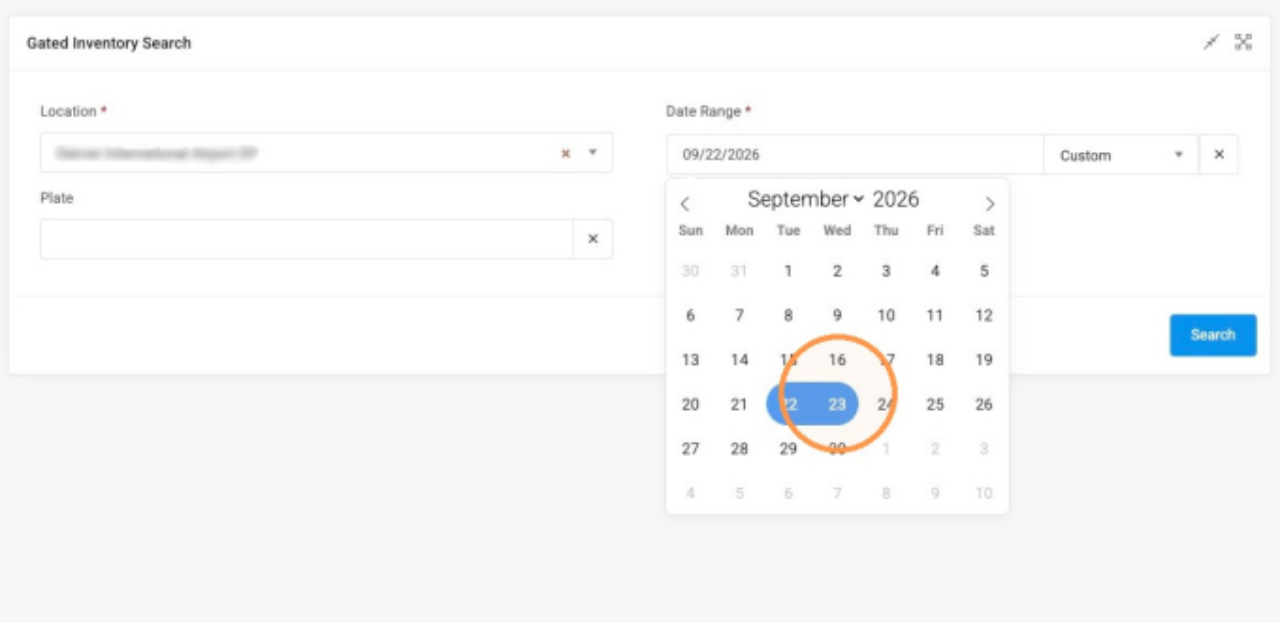
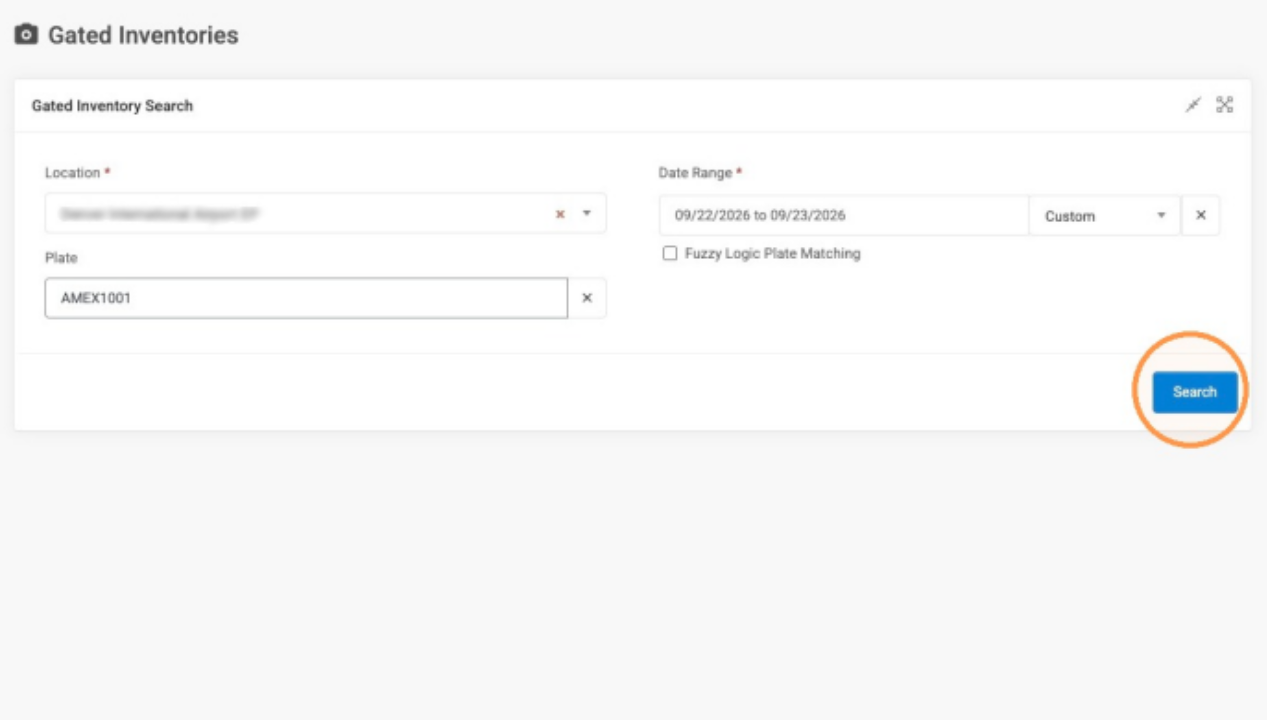
13. Focus the Plate field and type the LP of the Parker. Ex: AMEX1001.
14. Click "Search"
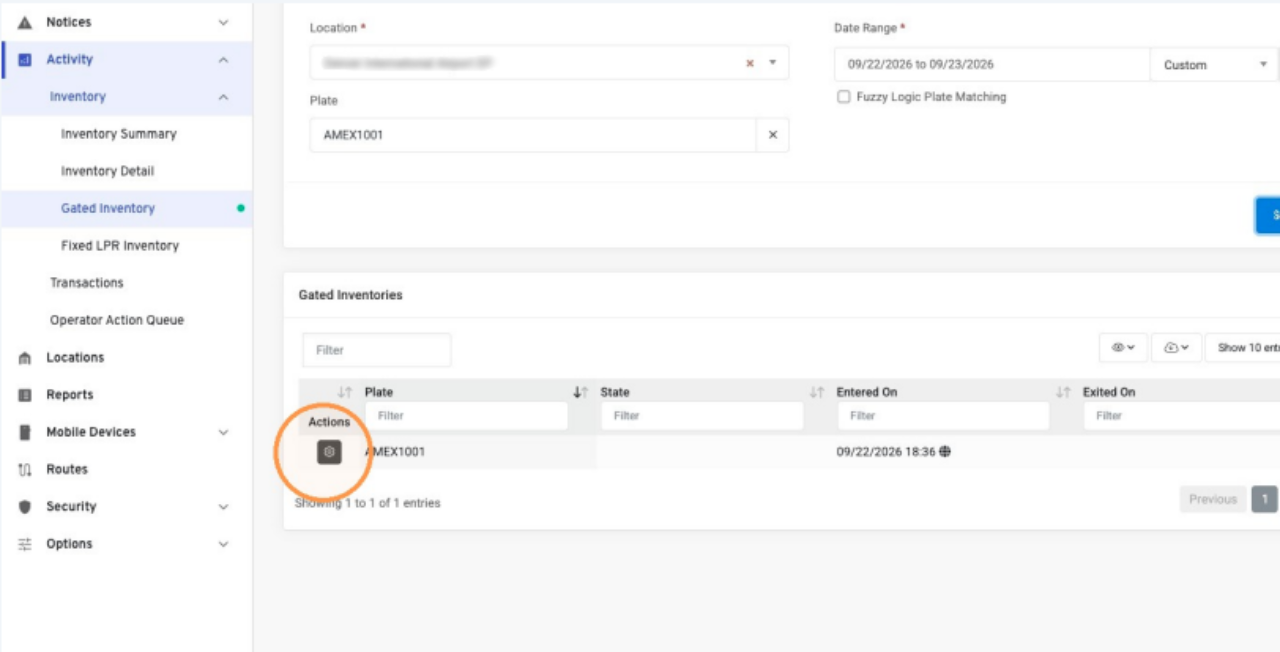
Mark Inventory Exited
15. Select the Gear Icon.
16. Click "Mark as exited"
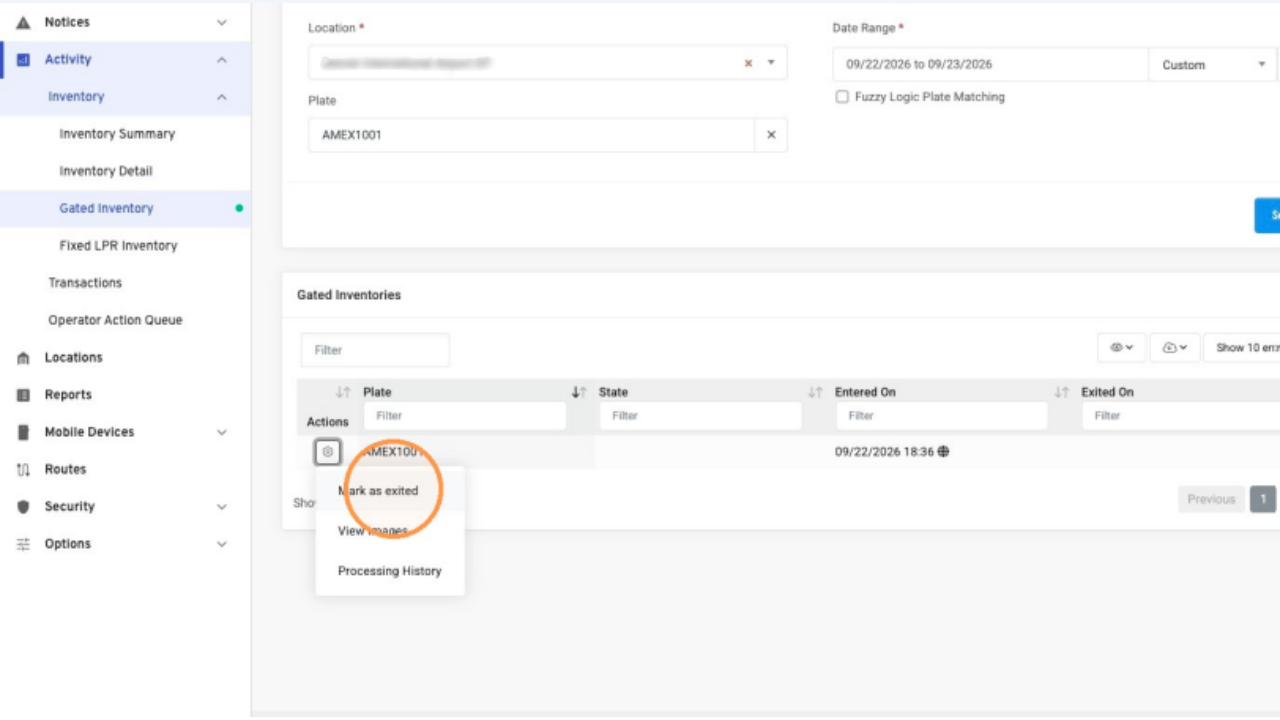
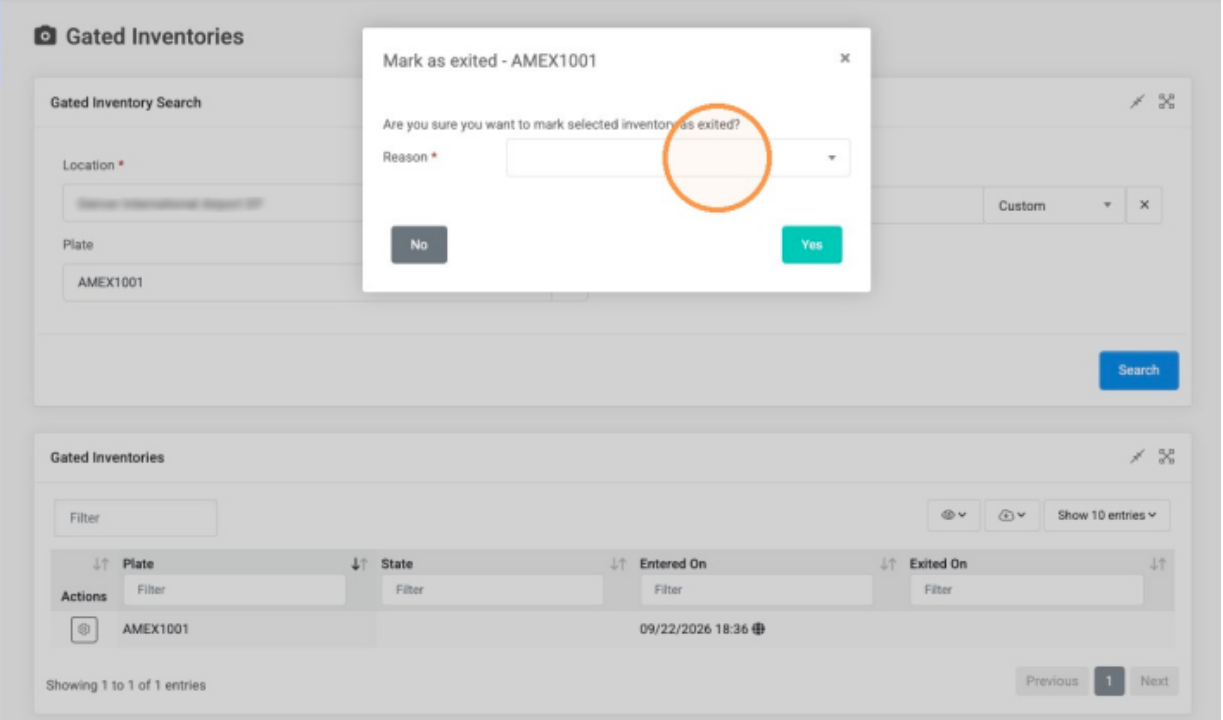
17.Click here to select the Reason Code.
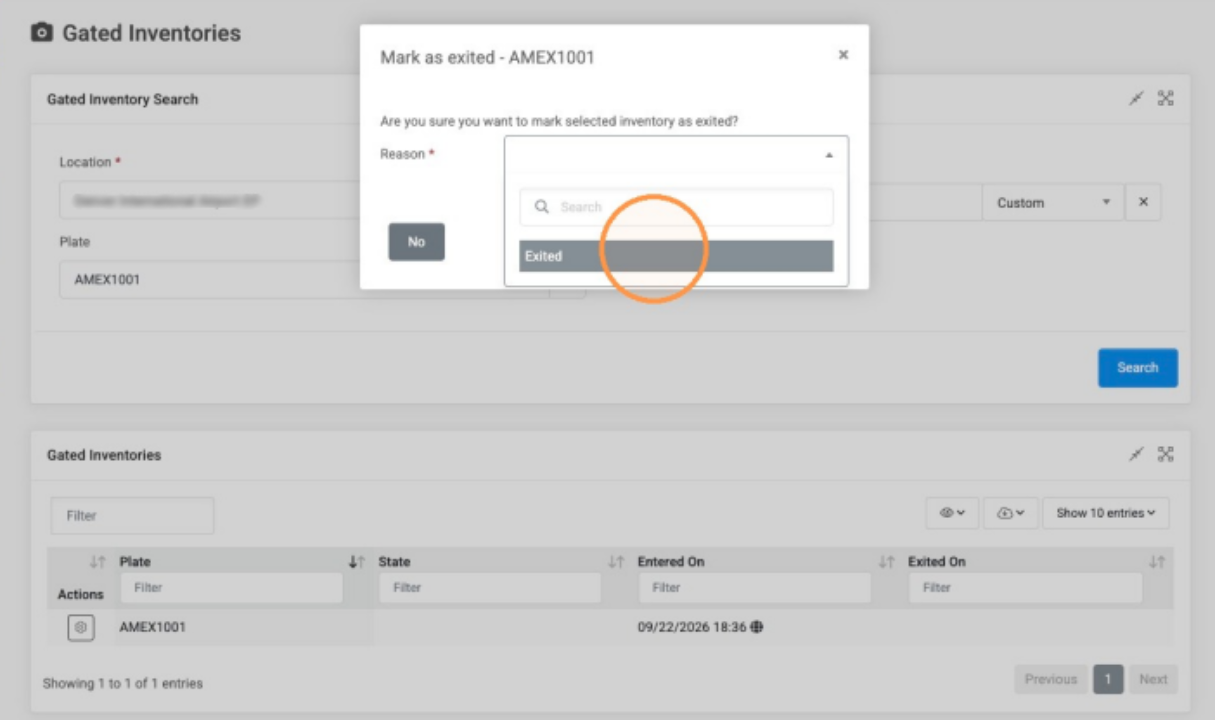
18. Click "Cancelled"
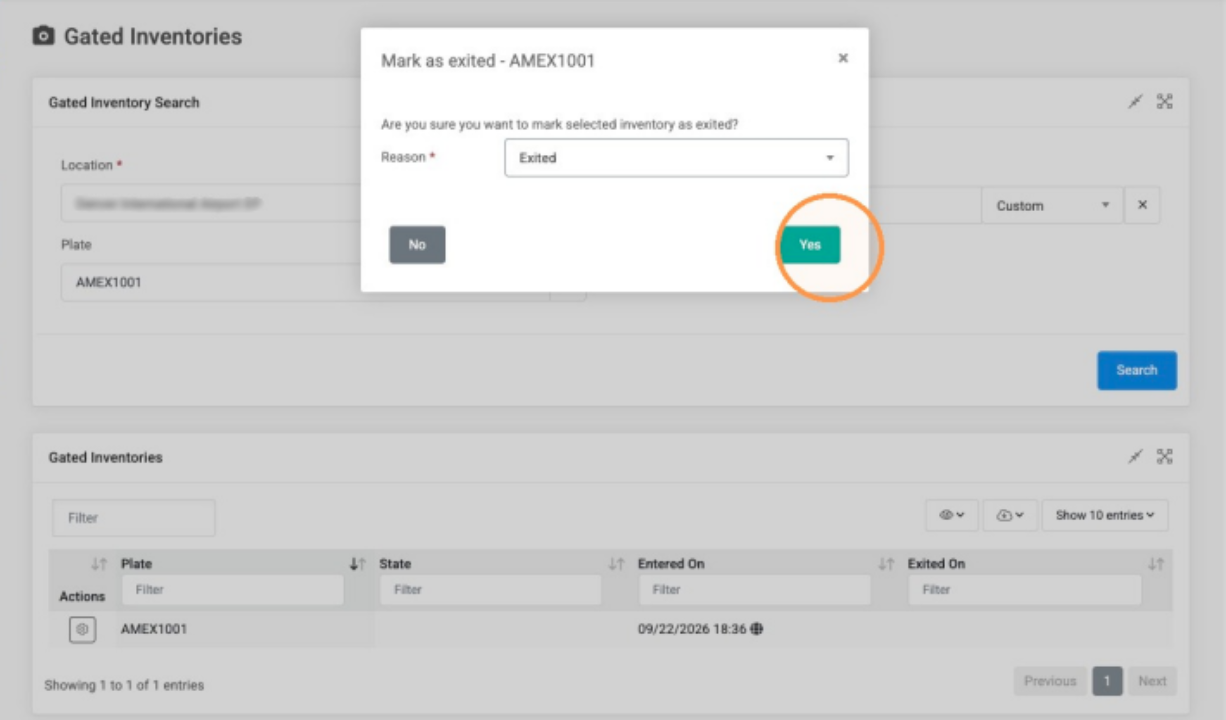
19. Click "Yes"
Was this article helpful?
That’s Great!
Thank you for your feedback
Sorry! We couldn't be helpful
Thank you for your feedback
Feedback sent
We appreciate your effort and will try to fix the article